Got a case of the blurry pixels? That low-resolution logo, artifact-ridden product photo, or fuzzy-faced portrait isn’t just an eyesore; it’s a conversion killer. Whether you’re a developer trying to process user-generated content, an e-commerce manager wrestling with supplier images, or a marketer needing a crisp graphic for a last-minute campaign, poor image quality is a universal headache. You need a fix, and you need it now, without firing up complex software or begging a designer for help.
Welcome to your definitive cheat sheet for the best free image upscaler online tools. We’ve cut through the noise to bring you a battle-tested list of AI-powered platforms that transform grainy, pixelated images into sharp, high-definition assets in seconds. This isn't just a list of names; it's a practical deep-dive. We’re comparing everything that matters: upscale limits, file format support, watermarking policies, and even API availability for the coders in the room.
Each entry comes with a quick "how-to," before-and-after examples, and an honest look at its limitations, so you can pick the perfect tool for your specific task. We’ll even highlight a developer-favorite, PixelPanda, for those needing serious integration. Understanding these tools is a key part of modern image manipulation; to see the bigger picture, check out this a comprehensive guide to AI photography which explores the broader landscape. Forget pixel peeping and endless frustration. Let’s find you the right upscaler and get back to creating amazing things.
1. PixelPanda
Best for: Developers, e-commerce, and marketing teams needing a scalable, API-first upscaling solution.
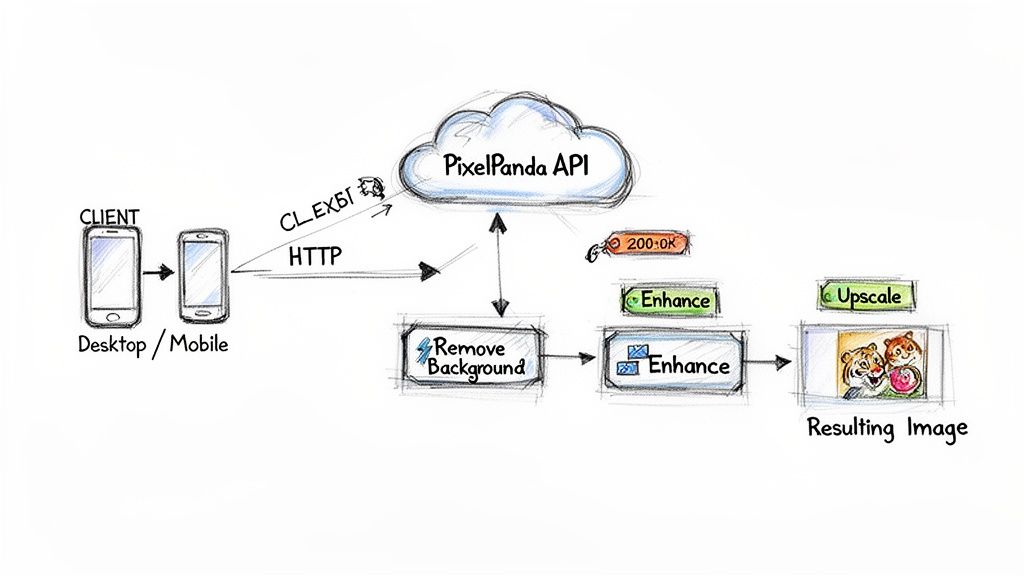
PixelPanda isn't just another free image upscaler online; it's a comprehensive AI-powered visual production suite designed for automation and quality at scale. While many tools focus on a single function, PixelPanda offers an entire creative toolkit built around a robust REST API, making it a standout choice for technical teams and businesses that need more than a one-off enhancement. Its upscaler is engineered for professional results, intelligently preserving and reconstructing fine details.
Why It's Our Top Pick
The platform's 4x upscaling capability is impressive, particularly in how its edge-preserving models handle notoriously difficult textures like hair, fur, and delicate fabric patterns. It avoids the synthetic, "plastic" look that plagues lesser tools, delivering results that genuinely feel studio-grade. This precision makes it ideal for e-commerce stores needing crisp product shots, marketers refreshing campaign assets, and developers integrating high-quality image enhancement directly into their applications.
Beyond upscaling, PixelPanda consolidates multiple creative workflows into one API. Users can programmatically remove backgrounds, perform smart inpainting to erase unwanted objects, or enhance facial details. This integration eliminates the need to chain together multiple services, streamlining production pipelines and ensuring visual consistency.
Key Features and Considerations
- Developer-First Toolkit: Offers a simple REST API, SDKs, and comprehensive documentation. Batch processing allows for efficient handling of entire product catalogs or large asset libraries.
- Beyond Upscaling: An all-in-one platform with AI avatars, talking-head video generation (with lip-sync and 35+ voiceover languages), and smart content-aware fills.
- Generous Free Trial: You can test its capabilities without a credit card. Paid plans are credit-based, with unused credits rolling over monthly and commercial usage rights included.
- Potential Costs: While powerful, video generation consumes credits rapidly (starting at 75 credits), so high-volume video pipelines may require a higher-tier plan.
PixelPanda is the definitive choice for teams that view image upscaling as a critical, repeatable step in a larger content workflow. It provides the quality, speed, and integration hooks necessary for building automated, professional-grade visual production systems. You can explore its capabilities and see a live example of the technology in action on the PixelPanda image upscaling demo.
2. Topaz Labs
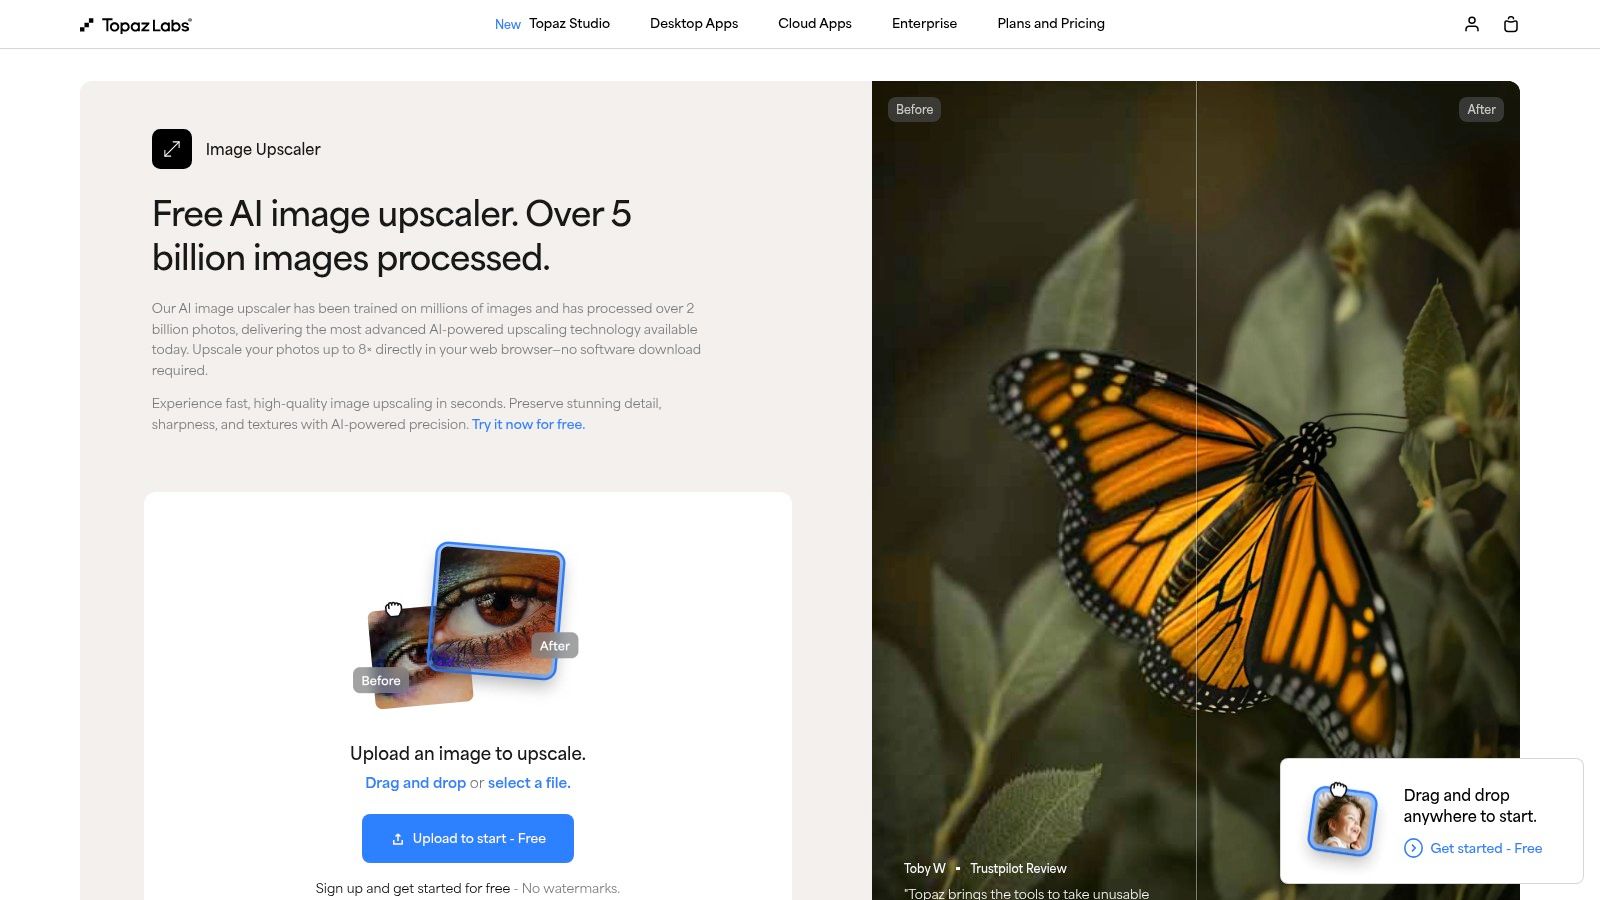
Topaz Labs is the heavyweight champion of the image upscaling world, offering a tantalizing free online tool as a gateway to its professional-grade desktop software. While many tools simply enlarge pixels, Topaz’s AI feels more like a digital art restorer, meticulously reconstructing details with an almost uncanny precision. Think of their free tool as the free sample at the world’s fanciest cheese shop; it gives you a taste of the premium quality that awaits.
The free browser-based upscaler lets you quickly test their technology with up to 8x enlargement, serving as a powerful, no-strings-attached demo. It's a fantastic way to see if Topaz’s specialized models will work magic on your specific images before you even think about reaching for your wallet.
Key Features & User Experience
The real power of Topaz is unlocked with its paid Gigapixel AI desktop app. This is where you gain access to a suite of specialized AI models designed for different types of images, like Art & CG, High Fidelity, and the legendary Face Recovery model that can resurrect shockingly clear faces from blurry, low-res photos. The desktop app also provides both local and cloud rendering options, giving you control over processing speed and resource usage.
Our Take: The free online tool is more of a "try before you buy" feature. Its results are impressive, but the main reason Topaz is on this list is because its underlying technology is arguably the best in the market for professional photographers and serious creators who need flawless detail.
Limitations and Pricing
This is where the free lunch ends. The free online tool is great for a quick test, but it's not a long-term solution. The desktop app trial is also limited; you can preview the incredible results to your heart's content, but you can’t actually save or export any upscaled still images without purchasing a license.
- Pros: Best-in-class detail retention, especially for portraits and complex textures. The free browser tool offers a generous preview of its capabilities.
- Cons: The most powerful features are locked behind a paywall. The desktop trial is preview-only, which can be a tease.
Website: https://www.topazlabs.com/tools/upscale
3. Adobe (Photoshop / Adobe Express)
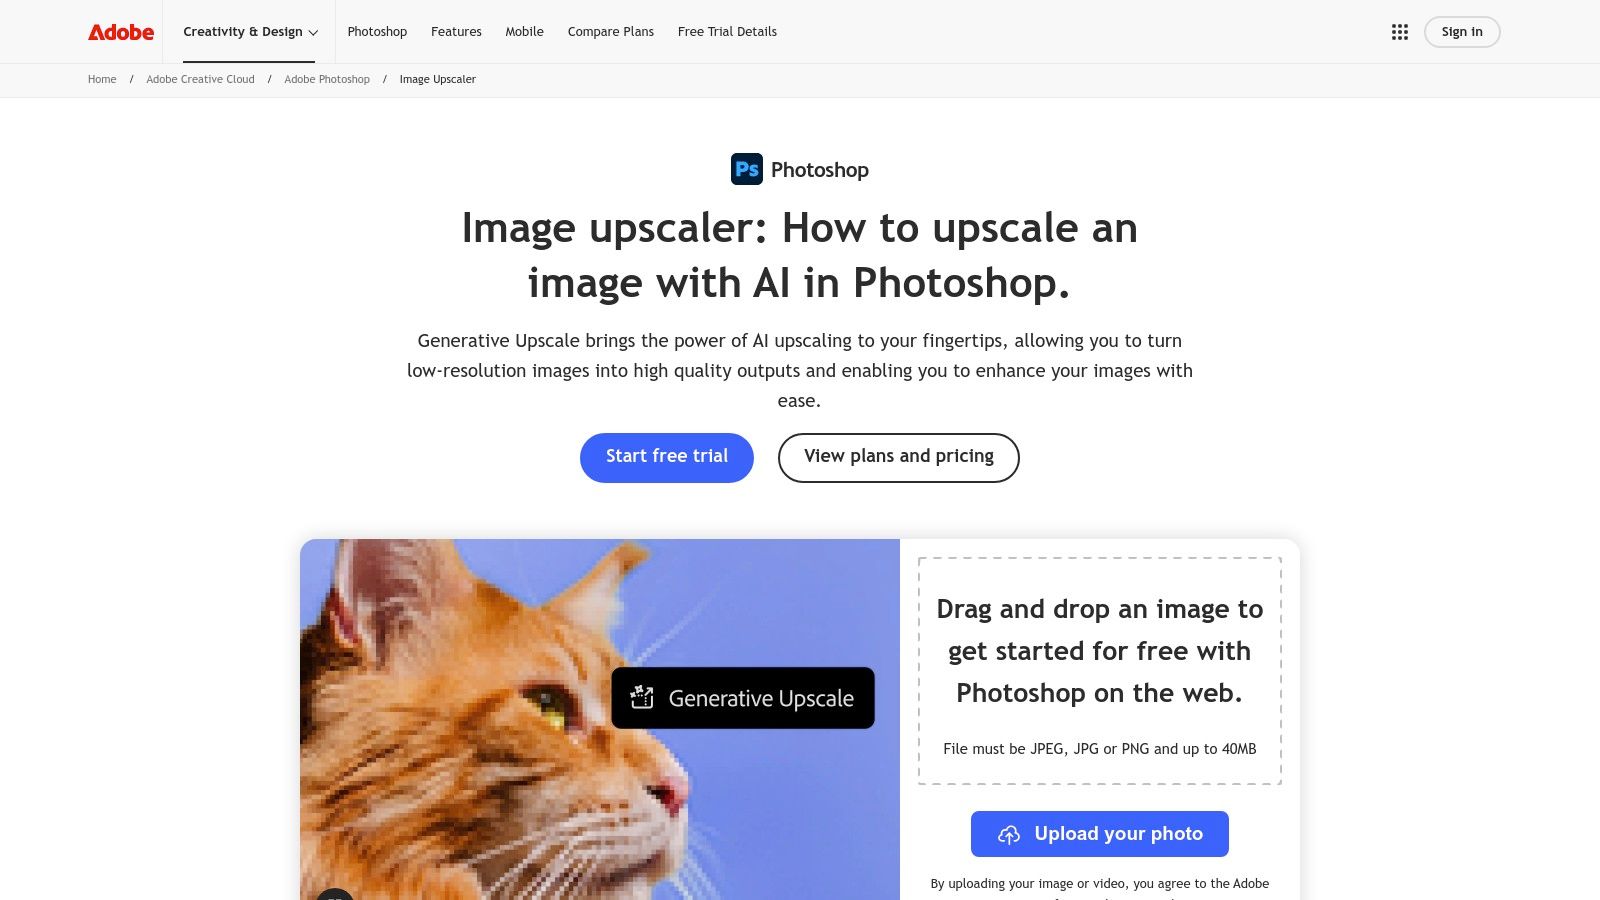
It's impossible to talk about digital imaging without mentioning Adobe, the colossal creative powerhouse. Instead of just one tool, Adobe weaves AI upscaling into its broader ecosystem, offering powerful features through both Photoshop on the web and the incredibly accessible Adobe Express. This approach positions upscaling not as a standalone trick, but as one step in a seamless creative workflow, powered by their robust Firefly AI engine.
For those already in the Adobe universe, this is a no-brainer. For newcomers, it’s a compelling entry point into a world of integrated, professional-grade creative tools. The convenience of having a top-tier free image upscaler online connected directly to other editing features is a massive time-saver.
Key Features & User Experience
Adobe’s strength lies in its integration. In Photoshop on the web, the Generative Upscale feature feels like pure magic, intelligently filling in new details as you expand your image canvas. Adobe Express offers a more streamlined, one-click "Enhance" tool that sharpens, brightens, and improves clarity for quick social media posts or marketing materials. The user experience is polished and familiar to anyone who has ever touched an Adobe product, with both web and mobile apps providing a consistent workflow.
Our Take: Adobe's upscaling is less about hitting a single button and more about integrating enhancement into a larger creative process. If you need to upscale an image and then immediately add text, apply a filter, or drop it into a design, no other platform makes it this fluid.
Limitations and Pricing
While many features are available on a generous free plan, Adobe's most powerful tools operate on a "freemium" model. Advanced features in Photoshop and certain one-click actions in Express consume "generative credits," which are limited on the free tier. There are also file size and dimension limits to be aware of, which can be a hurdle for very large-format projects.
- Pros: Part of a trusted, integrated creative ecosystem. Excellent web and mobile app continuity. Firefly AI delivers high-quality, context-aware results.
- Cons: The best features require a subscription or are limited by a generative credit system. Not a simple, dedicated upscaling-only tool.
Website: https://www.adobe.com/products/photoshop/image-upscaler.html
4. Icons8 Smart Upscaler
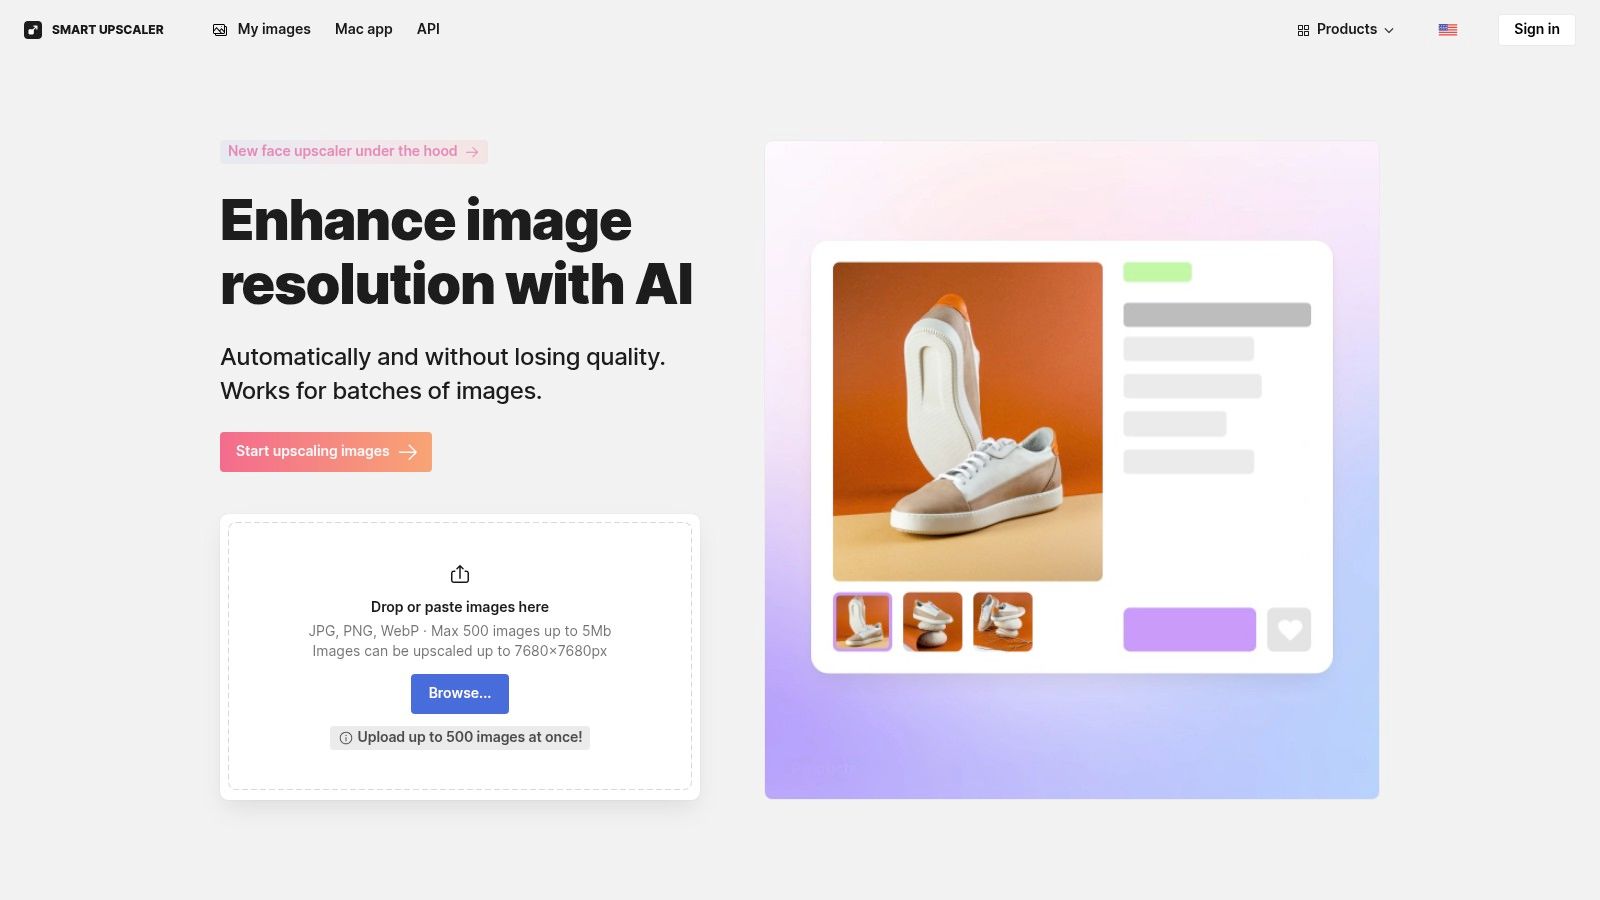
Icons8 Smart Upscaler is the workhorse of the free image upscaler online world, built for users who need clean, reliable results without a lot of fuss. It’s less of an artistic restorer and more of a precision tool, focusing on delivering crisp 2x or 4x enlargements for portraits, product shots, and digital graphics. This tool is refreshingly straightforward, offering a simple drag-and-drop interface that gets the job done quickly.
The platform stands out by providing practical features like history storage for re-downloads and a clear privacy policy stating your images won't be used for AI training. This makes it a trustworthy choice for commercial or sensitive projects where data privacy is a top concern.
Key Features & User Experience
Beyond its simple interface, Icons8 caters to power users with batch processing capabilities and a full-fledged API for developers. This allows for seamless integration into automated workflows, making it ideal for e-commerce sites or social media teams that handle large volumes of images. Its flexibility is a key differentiator, appealing to both casual users and professionals.
Our Take: Icons8 is a fantastic all-rounder. While the free tier is more of a quick demo, its transparent pricing, developer-friendly API, and strong privacy stance make it a top contender for anyone needing a reliable upscaling solution that can scale with their needs.
Limitations and Pricing
The free offering is quite limited, giving you just a few credits (around three images) before you hit a paywall, and free results may include a watermark. To unlock its full potential, Icons8 offers flexible pricing, including prepaid credit packs and unlimited monthly subscriptions. This model provides options for everyone, from occasional users to high-volume businesses.
- Pros: Strong privacy policy, API access for automation, and flexible pricing models including prepaid packs.
- Cons: The free tier is extremely limited (only about 3 images) and may apply watermarks to outputs.
Website: https://icons8.com/upscaler
5. Upscale.media (Pixelbin)
Upscale.media, powered by Pixelbin, enters the arena as a sleek, developer-friendly solution that packages powerful upscaling with a pragmatic, pay-as-you-go model. It’s less of a one-trick pony and more of a versatile image-processing toolkit, offering upscaling alongside handy features like background removal. This makes it a compelling choice for those whose needs go beyond a simple enlargement.
The platform provides a smooth, drag-and-drop browser interface for quick jobs, making it an accessible free image upscaler online for casual users. But its real strength lies in its API, which opens the door for automating image workflows on a larger scale.
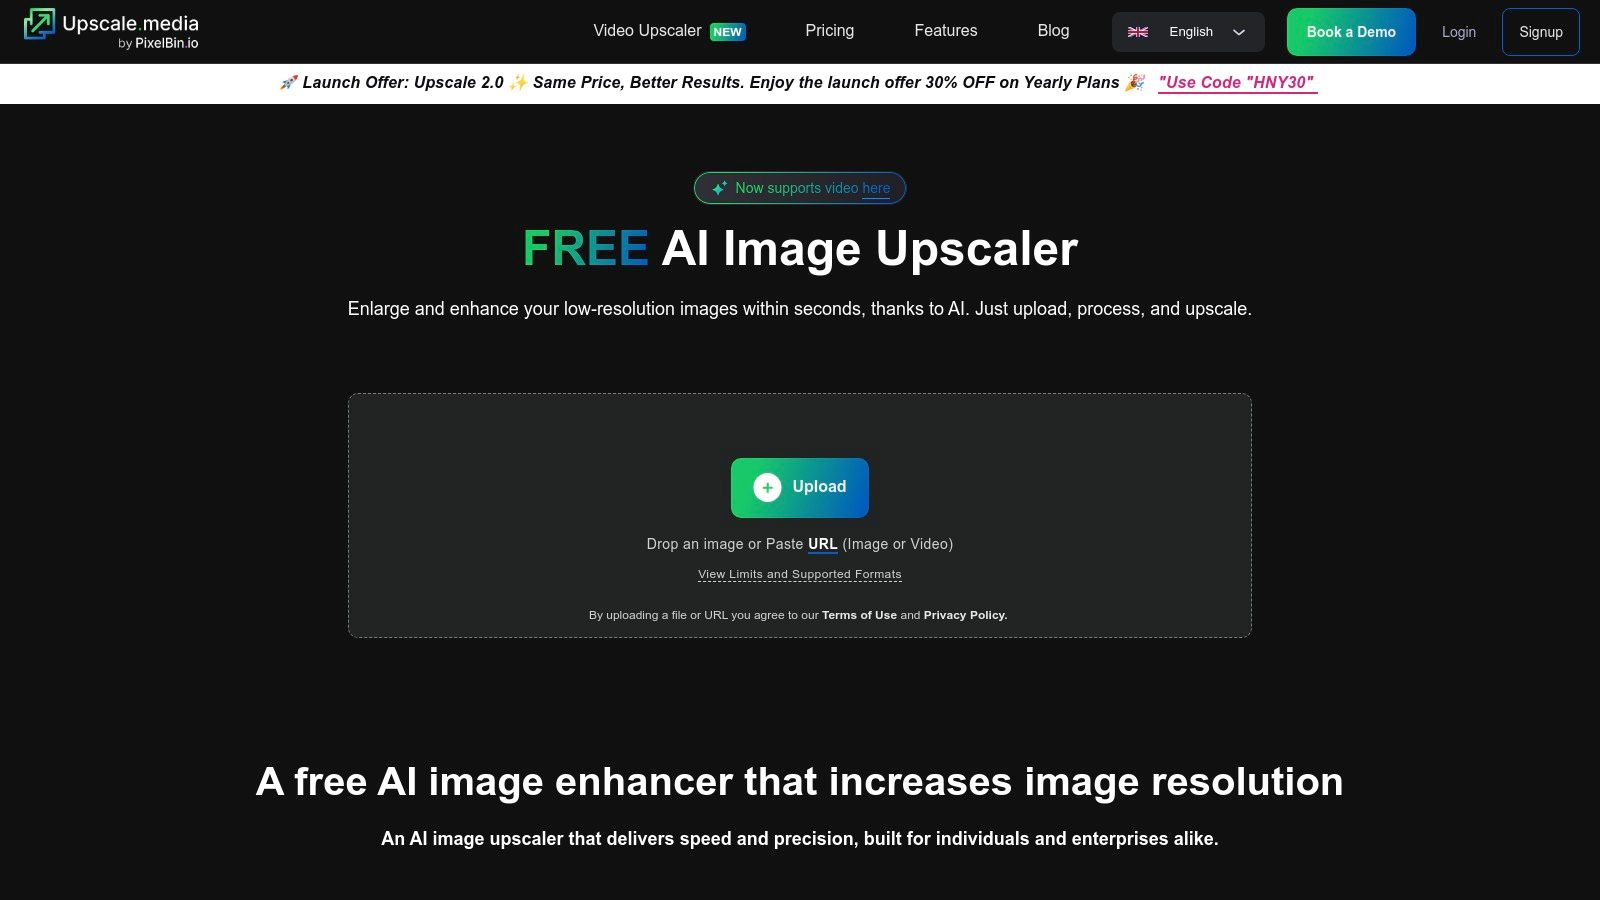
Key Features & User Experience
Upscale.media allows you to enhance images up to 4x their original size and includes an "Enhance Quality" toggle that acts as a subtle but effective face-enhancement and artifact-removal tool. The interface is clean and straightforward, focusing on getting the job done with minimal fuss.
Its standout feature is the API integration, which transforms it from a simple tool into a component for automated systems. This is ideal for e-commerce platforms, social media schedulers, or any application that needs to process images programmatically without manual intervention.
Our Take: Upscale.media strikes a great balance between a simple consumer tool and a robust developer resource. The small free monthly credit allowance is just enough to test its capabilities or handle the occasional odd job, while its affordable credit packs make it a scalable option for businesses.
Limitations and Pricing
The free ride is quite short here. You get a very small number of free credits per month, which is enough for only a few images. After that, you’ll need to purchase credit packs or subscribe. While the one-time credit packs are valid for a year, be mindful that subscription credits expire monthly and annual plans auto-renew, so choose what fits your usage pattern.
- Pros: API access is a huge plus for automation. The pay-as-you-go model is flexible and avoids hefty upfront costs.
- Cons: The free monthly credit allowance is very limited. It's more of a "freemium" service than a truly free long-term solution.
Website: https://www.upscale.media/
6. Let's Enhance
Let's Enhance has been a reliable workhorse in the image upscaling arena for years, earning a solid reputation among e-commerce businesses and photographers who prioritize color accuracy. Instead of just blowing up pixels, its AI focuses on preserving tone and hue, making it a go-to for product photos and digital art where color fidelity is non-negotiable. The platform operates on a credit system, generously giving new users a handful of free credits to test the waters.
This credit-based model lets you try its premium features without any upfront cost, making it an excellent free image upscaler online for testing on real-world projects. You get a clear sense of its capabilities before deciding if a paid plan fits your workflow.
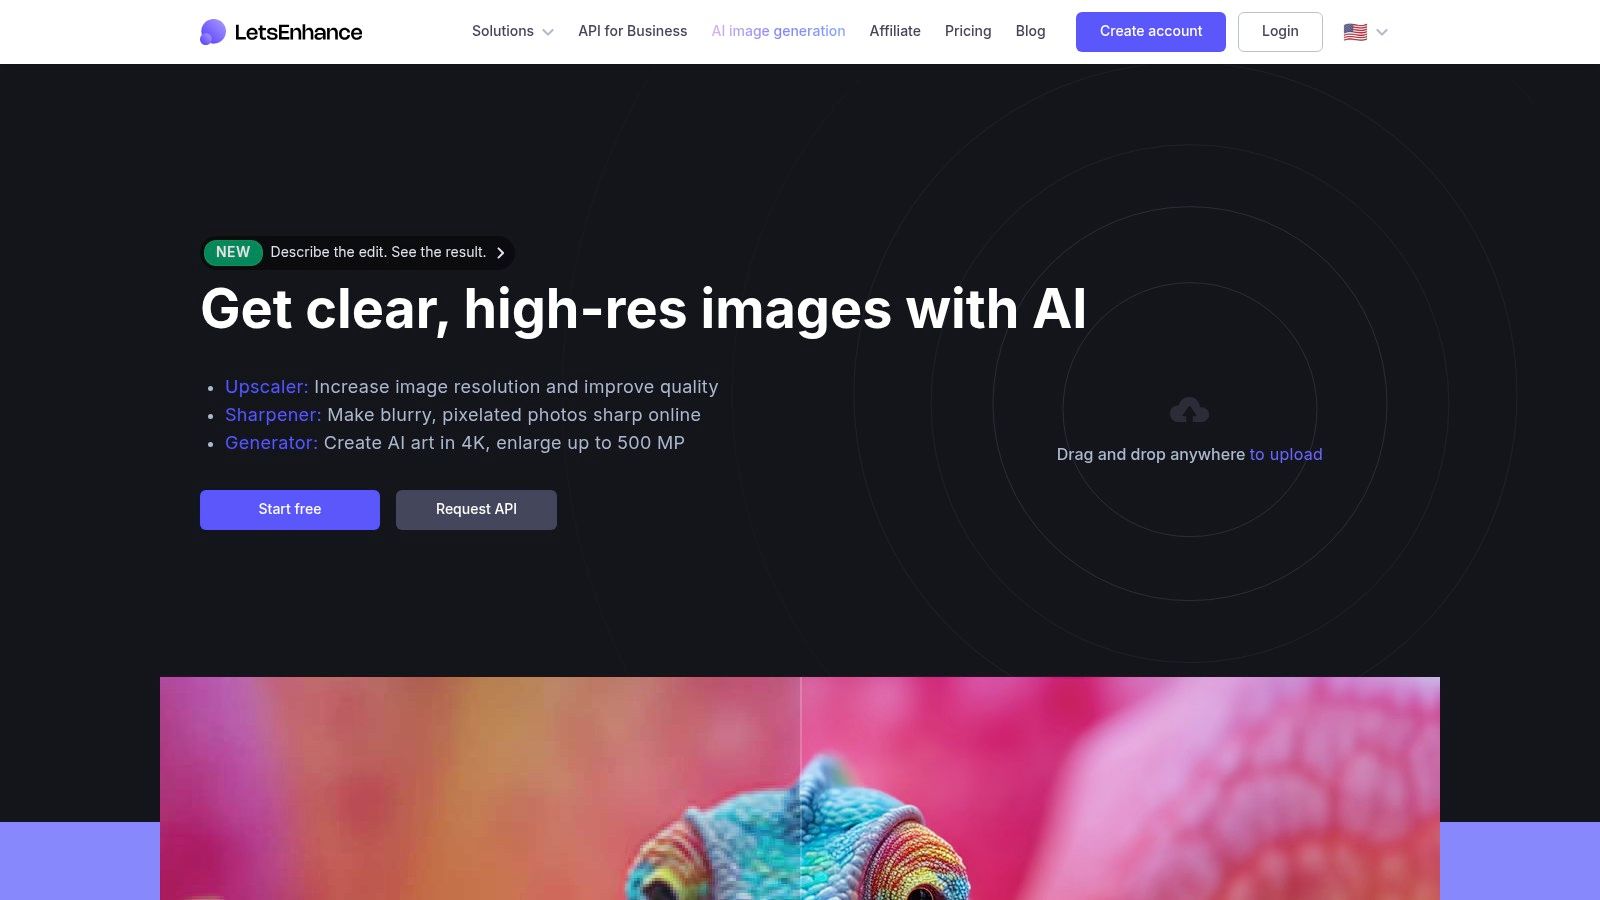
Key Features & User Experience
The platform shines with its user-friendly presets tailored for different content, like Digital Art, Photo, and Smart Enhance. This takes the guesswork out of the process, ensuring optimal results whether you're upscaling a logo or a landscape. Its batch processing capability is a huge time-saver for anyone managing large catalogs of images, allowing you to upload and process entire folders at once.
Our Take: Let's Enhance is the perfect middle-ground for users who need more than a basic free tool but aren't ready for a heavy-duty desktop application. Its focus on color preservation and batch processing makes it a standout choice for commercial use cases.
Limitations and Pricing
The free ride is limited to the initial starter credits. Once those are used up, you'll need to subscribe to a paid plan to continue processing images. While personal plans have a friendly credit rollover policy, it's important to note that business-tier plans do not. Some enhancement operations might also apply a watermark if you're out of paid credits, pushing you toward a subscription for professional results.
- Pros: Excellent color and tone preservation. Powerful batch processing features and user-friendly presets.
- Cons: Free usage is limited to a small number of starter credits. Higher-end features are locked behind a subscription.
Website: https://letsenhance.io/
7. VanceAI Image Upscaler
VanceAI offers a sleek, user-friendly suite of AI-powered tools, with its image upscaler being a standout for users who need more than just a simple pixel boost. It’s like a Swiss Army knife for image enhancement, providing specialized models that cater to specific needs, particularly for portraits and e-commerce product shots. This free image upscaler online is built around a credit system, giving you a small taste of its power each month without asking for a credit card.
The platform provides a smooth browser-based experience, allowing you to enlarge images from 2x up to 8x. It shines with its dedicated "Face Enhancement" feature, which does a commendable job of cleaning up and sharpening facial details in low-quality photos, making it a great choice for reviving old portraits or blurry social media pictures.

Key Features & User Experience
Beyond the basic upscaling, VanceAI’s real value lies in its specialized AI models. You can choose different processing modes tailored for standard photos, anime, art, text, or product images. For power users, the subscription unlocks the VanceAI PC desktop app, which offers unlimited local processing without using credits, a huge plus for privacy and speed.
Our Take: VanceAI hits a sweet spot between ease-of-use and specialized functionality. The free monthly credits are just enough to handle a few urgent tasks, while the desktop app offers a compelling reason for frequent users to subscribe.
Limitations and Pricing
The main limitation is the restrictive free plan. You only get three free credits per month, and a single high-resolution upscale can easily use them all. The credit-based system on the web can also be a bit confusing, with different actions costing different amounts. While the desktop app offers unlimited use, it requires a paid subscription to access.
- Pros: Excellent for portraits and product photos with dedicated AI models. The desktop app provides unlimited local processing for subscribers.
- Cons: The free web version is very limited with only three credits per month. The credit system can be complex and costly for heavy web users.
Website: https://vanceai.com/image-enlarger/
8. Bigjpg (BigJpg AI)
Bigjpg is the fan-favorite upscaler for anyone working with anime, illustrations, and digital art. While many generic tools struggle with sharp lines and flat colors, Bigjpg's AI is specifically trained on this type of content, making it a master of preserving the original artistic intent. It excels at enlarging everything from detailed manga panels to stylized character art without introducing strange artifacts or fuzzy edges.
This platform shines by offering a specialized model just for this niche, ensuring line art stays crisp and colors remain vibrant. The free service is quite generous, allowing up to 8x enlargement, which is more than enough for many personal projects and a fantastic way to test its capabilities on your specific artwork.
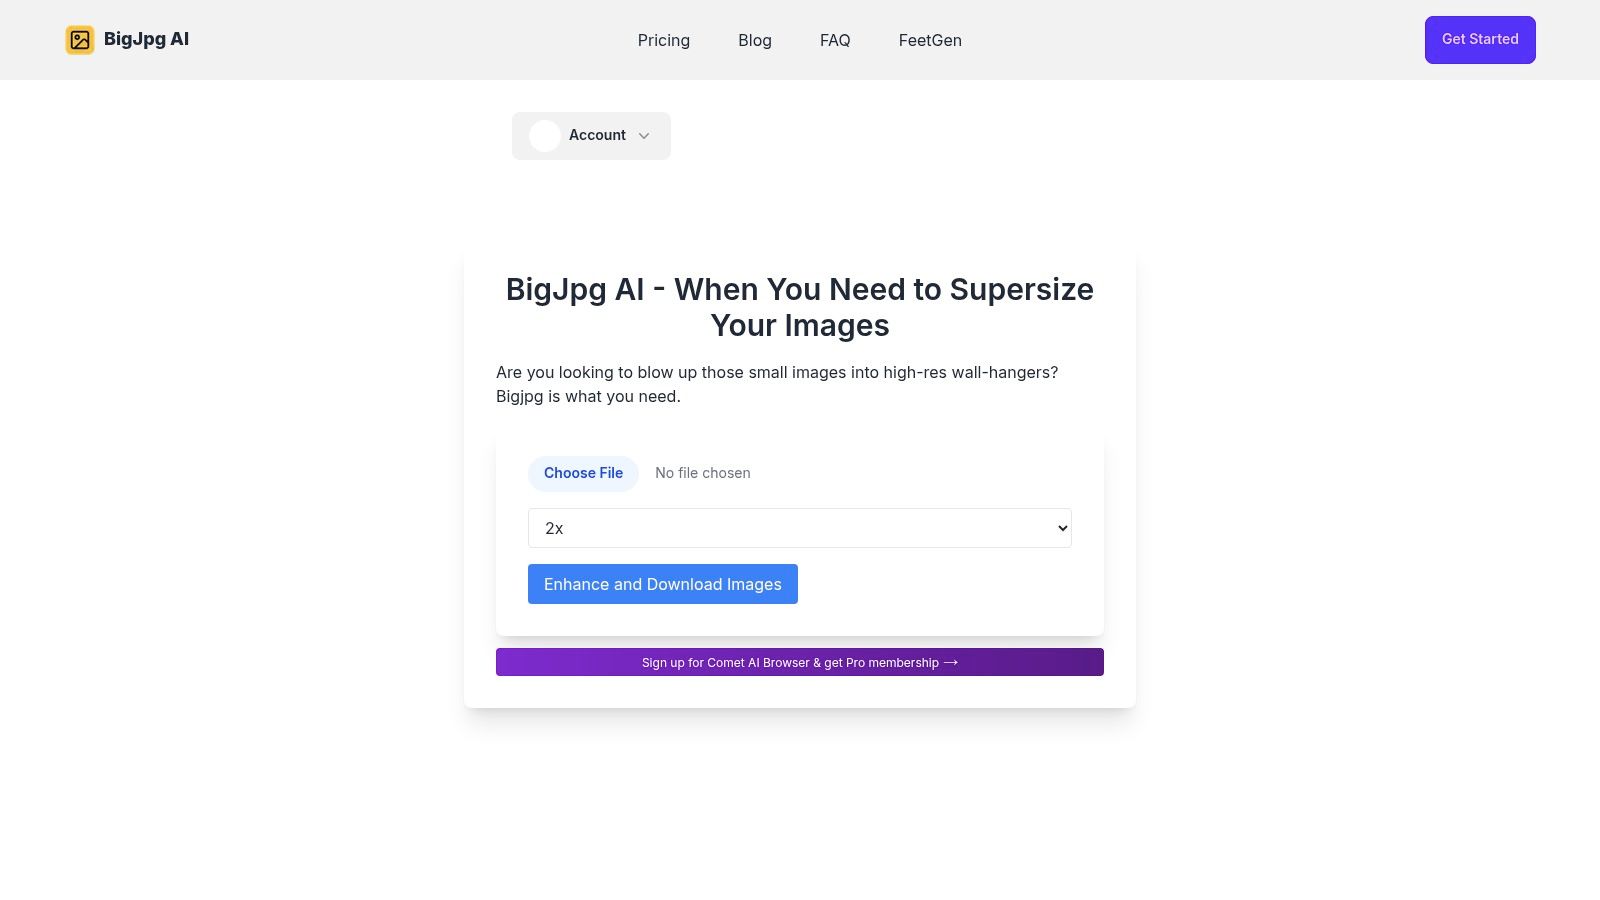
Key Features & User Experience
The interface is delightfully simple: upload your image, select the artwork type (Art & CG or Photo), choose your noise reduction level, and pick an upscaling factor. The process is straightforward, with little to no learning curve. For artists and creators who need more power, the paid tiers unlock up to 16x upscaling, faster processing, and batch uploads, making it a viable tool for professional workflows.
Our Take: If your source images are anime, illustrations, or any kind of line art, make Bigjpg your first stop. It is a purpose-built free image upscaler online that understands the unique challenges of non-photographic images better than most general-purpose tools.
Limitations and Pricing
The free ride comes with a catch: a small watermark is added to upscaled images, marking them for personal use only. While processing is generally quick, complex or very large images can take longer on the free servers. Paid options are flexible, offering both monthly subscriptions and transparent pay-as-you-go credit packs for occasional users.
- Pros: Outstanding results for anime and stylized art. The simple interface and generous free 8x upscaling make it highly accessible.
- Cons: Free exports are watermarked. Processing can be slower for complex images on the free plan compared to premium tiers.
Website: https://bigjpg.ai/
9. Canva (Image Upscaler app)
Canva, the design-for-everyone powerhouse, has integrated a handy image upscaler directly into its sprawling creative suite. This isn't just a standalone tool; it’s an upscaler designed to be the first step in a bigger design journey. Instead of upscaling an image and then importing it elsewhere, Canva lets you enhance your photo's resolution and immediately drop it into a social media post, presentation, or marketing graphic without ever leaving the platform.
The Image Upscaler app lives within Canva's editor, offering a seamless way to improve photo quality mid-project. It's the perfect solution for when you find a great-but-slightly-pixelated image that needs a boost before it can anchor your design. This makes it one of the most practical free image upscaler online tools for marketers and content creators.
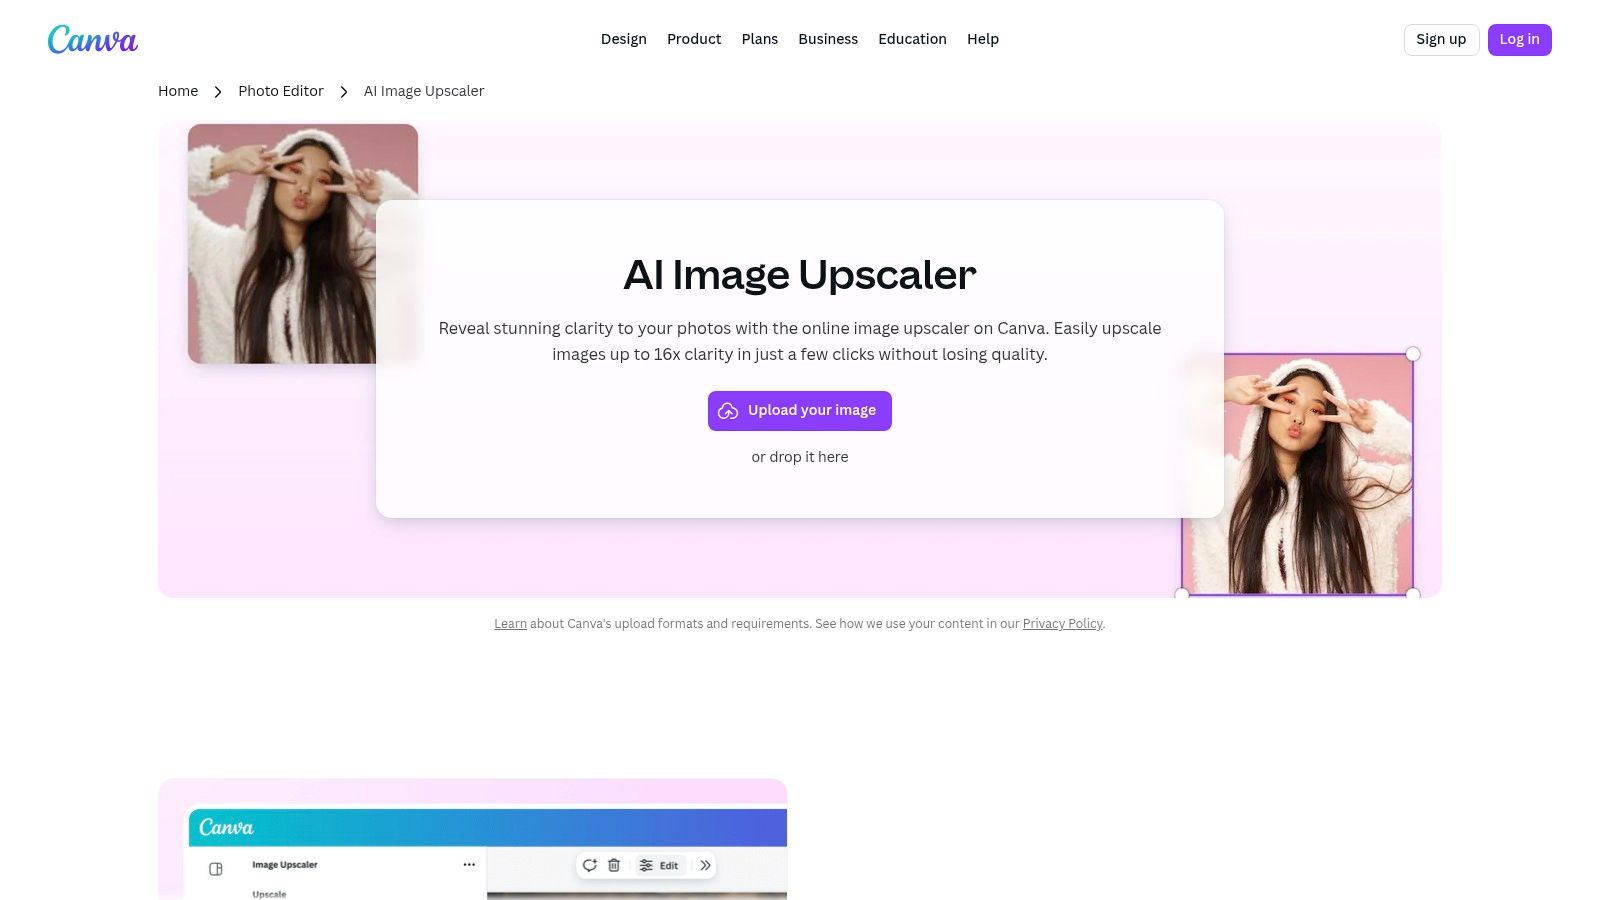
Key Features & User Experience
Canva’s strength is its ecosystem. The upscaler works alongside companion tools like the Image Enhancer, Unpixelate, and the AI-powered Magic Expand. You can upscale a product photo, automatically enhance its colors, and then intelligently extend its background to fit a new format in just a few clicks. This workflow-centric approach is available on both web and mobile, making quick edits on the go incredibly simple.
Our Take: This is the best upscaler for those who need to do more than just enlarge. If your end goal is a finished design, Canva streamlines the entire process from image preparation to final export, which is a massive time-saver.
Limitations and Pricing
The free plan provides a generous pathway to test the upscaling and enhancement tools. However, some advanced features or premium assets (like stock photos or certain graphics) used in your design will require a Pro subscription to use or export without a watermark. The upscaler itself is free to use, but its utility is tied to the broader Canva experience, where the best features are often part of the Pro plan.
- Pros: Perfectly integrated into an all-in-one design platform. Excellent for social media managers and marketers. Free to use for upscaling within a design.
- Cons: The most valuable exports and assets are part of the paid Pro plan. Not ideal for users who only need a standalone batch upscaler.
Website: https://www.canva.com/features/image-upscaler/
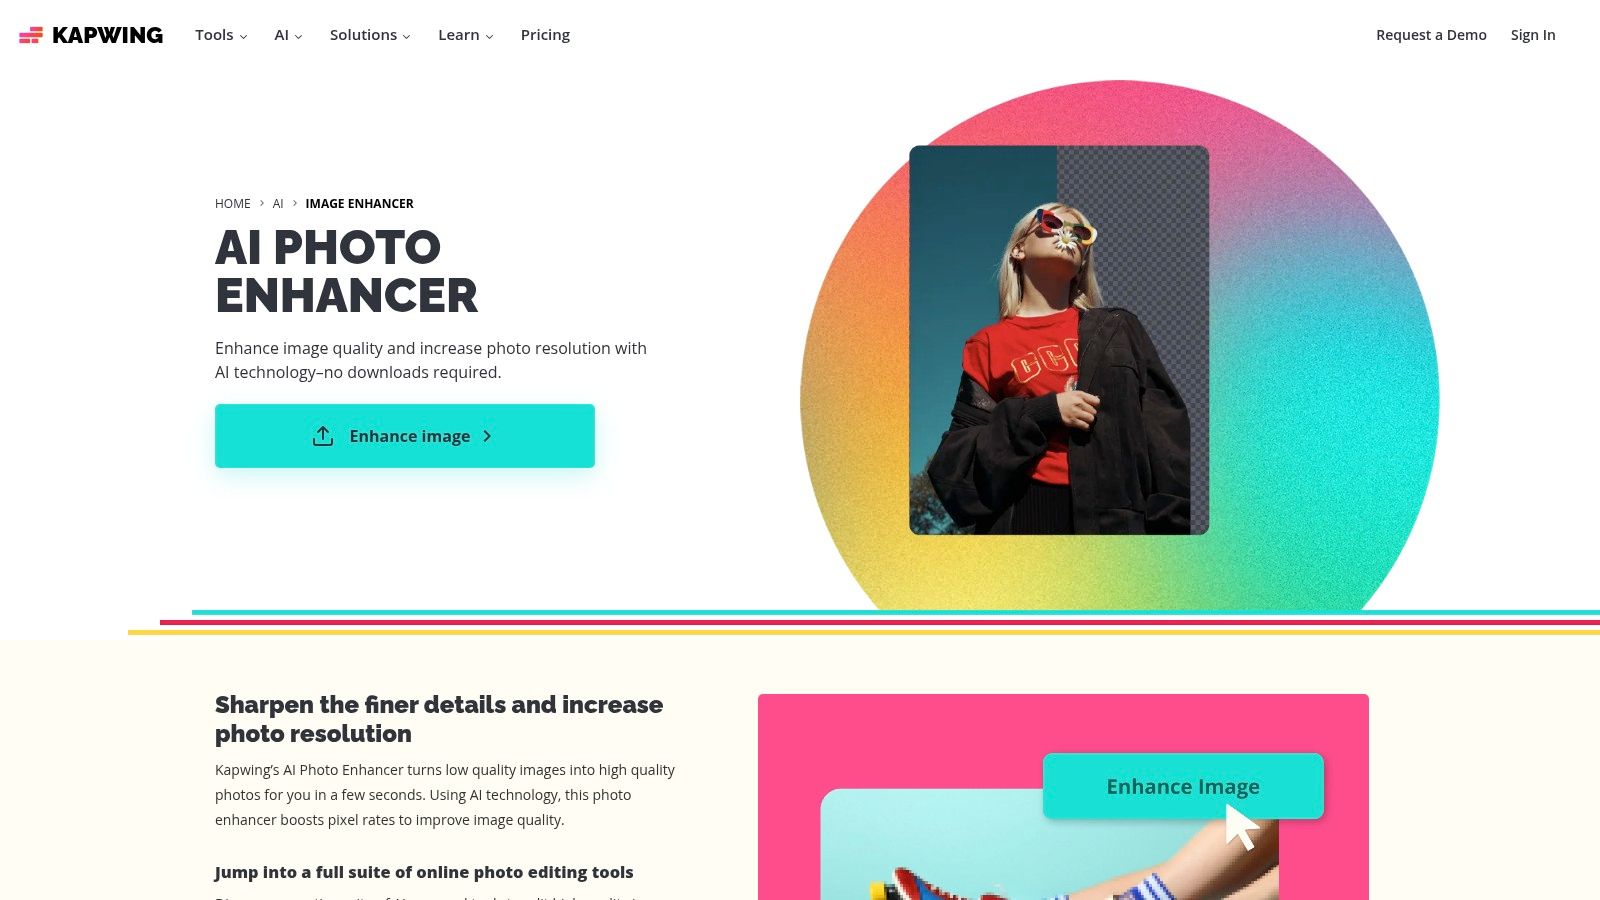
10. Kapwing
Kapwing isn't just a free image upscaler online; it's a full-blown collaborative content creation studio that happens to have a handy AI enhancer baked right in. This makes it the perfect choice for users who need to upscale an image as just one step in a larger project, like creating a social media post, a video thumbnail, or a presentation slide. Think of it less as a dedicated upscaling tool and more as a Swiss Army knife for digital content.
The platform’s strength lies in its integrated workflow. You can upload an image, enhance it with a single click, and then immediately start adding text, filters, or even video clips without ever leaving your browser tab. It’s an all-in-one solution designed for speed and convenience, making it a favorite among marketers and content creators who are always on a deadline.
Key Features & User Experience
Kapwing's user experience is incredibly intuitive and browser-based, making it accessible to everyone regardless of their technical skill. The AI enhancement tool works to improve clarity, color, and resolution simultaneously. Beyond upscaling, you gain access to a vast library of templates, stock assets, and collaboration features, allowing teams to work on mixed-media projects together in real-time. This holistic approach sets it apart from single-function upscalers.
Our Take: Kapwing is the ideal tool for creators whose workflow involves more than just upscaling. If you need to enhance a photo and immediately drop it into a YouTube thumbnail or an Instagram story template, Kapwing saves you a ton of time and effort.
Limitations and Pricing
The biggest catch with the free plan is the watermark. Any content you export for free will have a Kapwing watermark, which may not be suitable for professional use. The AI features, including the upscaler, also operate on a credit system. While the free plan provides a starting allotment, heavy users will need to upgrade to the Pro plan to get more credits and remove the watermark.
- Pros: Part of a comprehensive suite of content creation tools. Great for mixed-media projects combining images and video. Very easy-to-use browser interface.
- Cons: Free exports are watermarked. AI usage is limited by a credit system on all plans.
Website: https://www.kapwing.com/ai/image-enhancer
11. Stockphotos.com Upscaler
Emerging from the world of stock photography, the Stockphotos.com Upscaler brings a refreshingly straightforward, pay-as-you-go approach to AI enhancement. Instead of locking you into a monthly subscription, it offers prepaid credit packs, making it ideal for users with occasional or unpredictable upscaling needs. Think of it as a prepaid coffee card for your images; you only pay for what you actually use.
The platform provides a small but useful free trial of three upscales upon signing up, giving you a chance to test its various AI models. With options for 2x, 4x, and 8x enlargement, it's a versatile tool that caters to a wide range of creative and commercial projects, making it a solid contender in the free image upscaler online space.
Key Features & User Experience
Stockphotos.com stands out by offering four distinct AI models tailored to different needs. You can choose from Balanced, Ironed (for smoothing), DetailPro (for intricate textures), and the specialized FacePro model, which focuses on enhancing portraits. This level of choice allows you to fine-tune the upscaling process for optimal results depending on your source image. The interface is clean, simple, and gets straight to the point without unnecessary clutter.
Our Take: This tool is perfect for freelancers, small business owners, or anyone who hates recurring subscriptions. The one-time payment packs that last a full year provide fantastic value and flexibility, letting you upscale images as needed without monthly pressure.
Limitations and Pricing
The free trial is quite limited at just three upscales, and the free tier has an input size limit of 2000px. To unlock batch processing and handle larger images, you'll need to purchase one of their prepaid packs. While this pay-as-you-go model is a major pro, the initial free offering is more of a quick demo than a long-term free solution.
- Pros: Transparent, no-subscription pricing with year-long credit validity. Multiple specialized AI models give users more control over the final output.
- Cons: The free trial is very small (only 3 upscales). Higher resolution limits and batch processing are locked behind a paywall.
Website: https://upscaler.stockphotos.com/
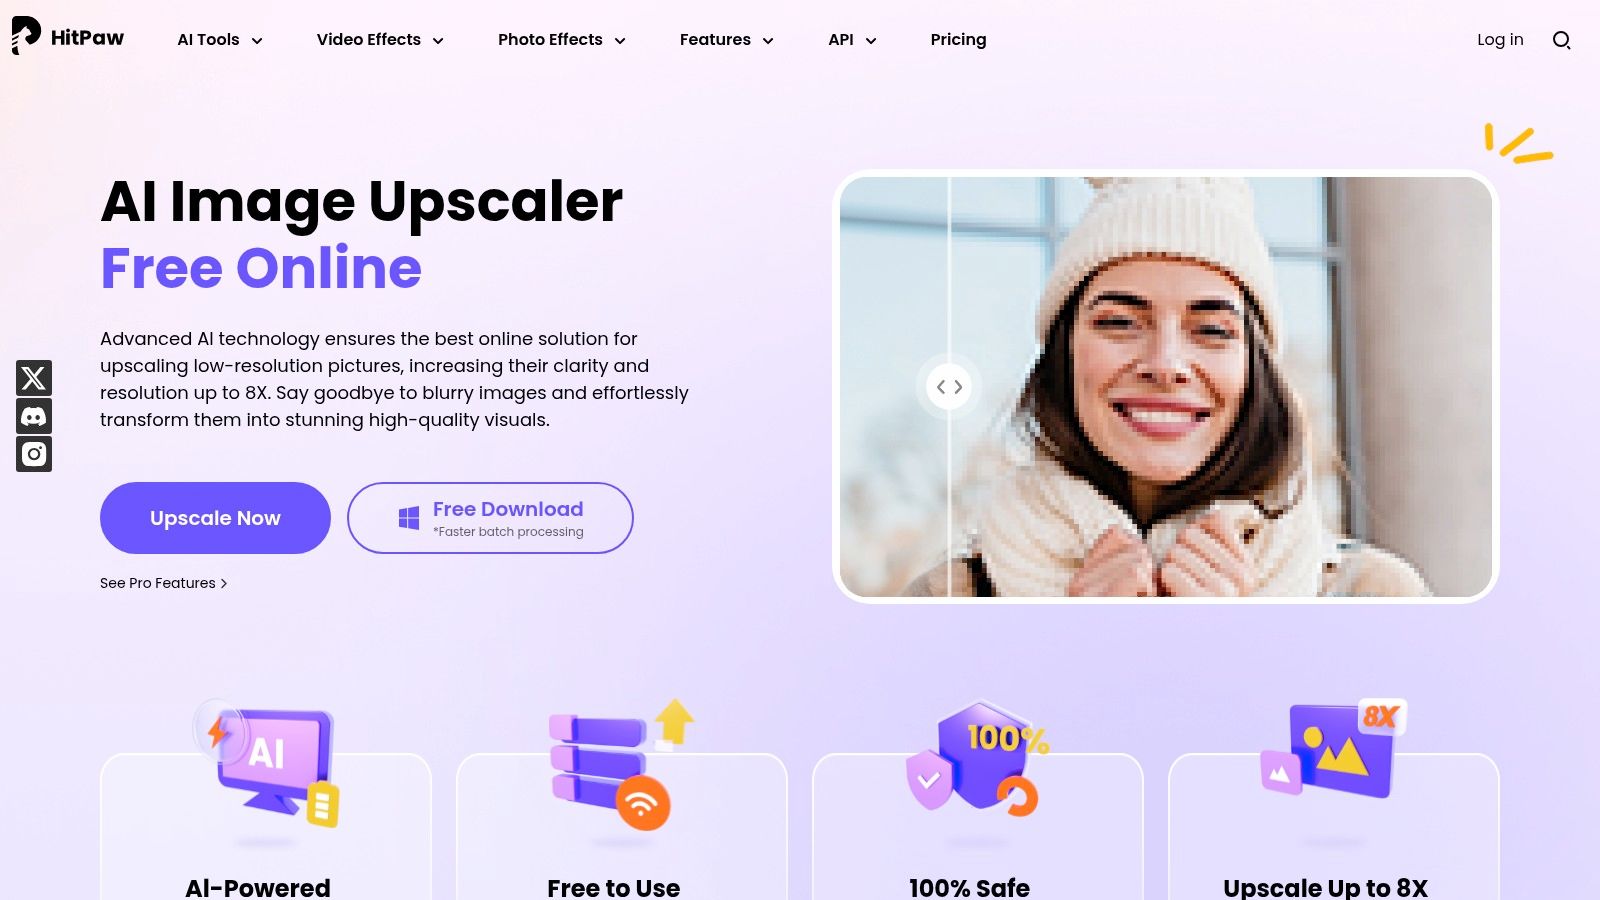
12. HitPaw Online Image Upscaler
HitPaw enters the scene as a versatile AI creative suite, offering a clean, browser-based image upscaler as part of its broader toolkit. It positions itself as an all-in-one solution, where the same platform that sharpens your photos can also edit your videos or clean up your audio. This integrated approach makes it a convenient hub for creators who frequently jump between different media types.
The free online image upscaler promises enlargements up to 8x, serving as a powerful demonstration of its AI restoration capabilities. It’s designed for simplicity and speed, allowing you to upload an image and see the enhanced result almost instantly, making it a great tool for quick, on-the-fly improvements without any software installation.
Key Features & User Experience
HitPaw's main draw is its seamless, browser-based workflow and a surprisingly uncluttered interface. Beyond simple upscaling, it includes other AI tools within the same ecosystem. For those needing more power, HitPaw offers desktop and mobile apps that unlock batch processing and offline access, providing a clear upgrade path from their free online tool.
Our Take: HitPaw is the jack-of-all-trades in the AI editing world. While the free upscaler is primarily a preview, its strength lies in offering a consistent experience across image, video, and audio tools, all under one credit-based system for those who decide to upgrade.
Limitations and Pricing
The "free" aspect is mostly a preview mode. While you can see the upscaled result, exporting the full-resolution image without a watermark requires purchasing credits. This credit system applies across their entire suite of AI tools, which can be convenient but also requires you to check the specific cost per image before committing.
- Pros: Simple, ad-free workspace for quick enhancements. Cross-platform apps are available for users who need batch or offline processing.
- Cons: The free mode is essentially a preview; full exports require paid credits. The broad marketing can make it tricky to pinpoint the exact credit cost per image.
Website: https://online.hitpaw.com/image-upscaler.html
Top 12 Free Online Image Upscalers — Feature Comparison
| Product | Core features | ✨ Unique selling points | 👥 Target audience | 💰 Pricing / Value | ★ Quality & UX |
|---|---|---|---|---|---|
| PixelPanda 🏆 | BG removal, inpainting, face & depth enhancement, 4× upscaling, text→image, AI avatars, REST API | ✨ Edge‑preserving models, batch processing, multilingual voiceovers, demo gallery | 👥 Ecommerce teams, marketers, devs, SaaS | 💰 Starter/Growth/Pro tiers; credit-based w/ rollover; free trial (no card) | ★★★★★ — studio-quality, fast (images ~15–20s), clear docs |
| Topaz Labs | Gigapixel desktop, multiple models (Face Recovery, Art & CG), free web upscaler (up to 8×) | ✨ Best-in-class detail retention; local & cloud rendering | 👥 Photographers, pro retouchers | 💰 Free web trials; Gigapixel license/subscription | ★★★★★ — high fidelity, local processing (can be slower) |
| Adobe (Photoshop / Express) | Generative Upscale (web), Express enhancers, mobile apps | ✨ Integrated with Creative Cloud & Firefly ecosystem | 👥 Creatives, agencies, existing Adobe users | 💰 Free tools; some features need credits/Creative Cloud subscription | ★★★★ — familiar UI, ecosystem continuity, some size/credit limits |
| Icons8 Smart Upscaler | 2×/4× upscaling, batch, API, history storage | ✨ Privacy-first (images not used to train models) | 👥 Designers, teams needing privacy | 💰 Prepaid packs, monthly/unlimited plans; limited free tier | ★★★★ — clean outputs, simple web workflow |
| Upscale.media (Pixelbin) | 2×/4×, face enhancement, background tools, API | ✨ Small free monthly quota; affordable credit packs | 👥 Small teams, developers testing integration | 💰 Credit packs + subscriptions; 3 free credits/month | ★★★ — easy to try, budget-friendly |
| Let's Enhance | 2×–4× upscaling, tone/color preservation, batch & presets | ✨ Presets for content types; large output sizes on paid plans | 👥 Ecommerce sellers, photographers | 💰 Credit-based; starter free credits; rollover on personal plans | ★★★★ — good color fidelity, reliable batch processing |
| VanceAI Image Upscaler | 2×–8×, face enhancement, web + desktop app | ✨ Desktop app for unlimited local processing (subscription) | 👥 Portrait/product editors, privacy-focused users | 💰 Credit-based; 3 free credits/month; subscription for PC app | ★★★ — flexible options, limited free web allowance |
| Bigjpg (BigJpg AI) | Specialized models for anime/line art/photos; up to 16× (paid) | ✨ Optimized for anime/CG/line art | 👥 Illustrators, anime/stylized art creators | 💰 Free up to 8× (watermark); pay-as-you-go & subscriptions | ★★★ — strong for stylized art, simple pricing |
| Canva (Image Upscaler) | Upscaler inside Canva editor + enhancer tools (Magic Expand, Unpixelate) | ✨ All-in-one design workflow — upscale then edit in‑place | 👥 Marketers, social creators, non-designers | 💰 Free tier; Pro unlocks premium assets & removes watermarks | ★★★ — very convenient, integrated editor |
| Kapwing | AI enhancer/upscaler in cloud editor; templates & collaboration | ✨ Mixed-media projects + real-time collaboration | 👥 Content creators, social teams, educators | 💰 Free (watermark); Pro removes watermark & raises credits | ★★★ — accessible, good for image+video workflows |
| Stockphotos.com Upscaler | Multiple models (Balanced, DetailPro, FacePro), 2×/4×/8× | ✨ Transparent pay-as-you-go packs valid 12 months | 👥 Users avoiding subscriptions, occasional upscales | 💰 One-time packs (year validity); small free trial (3 upscales) | ★★★ — flexible pricing, model choices |
| HitPaw Online Image Upscaler | Up to 8×, AI restoration, browser + app options | ✨ Simple ad-free workspace; cross-platform offline apps | 👥 Casual users, quick restorations | 💰 Credit-based; preview free, paid exports require credits | ★★★ — straightforward, preview-first experience |
So, Which Upscaler Should You Choose?
And there you have it, a whirlwind tour of the digital fountain of youth for your pixels. We've journeyed through a dozen of the best free image upscaler online tools, each with its own brand of AI magic, unique quirks, and hidden limitations. If you’ve walked away with one key insight, let it be this: there is no single "best" upscaler, only the one that’s best for your specific quest.
Picking the right tool feels less like a technical decision and more like choosing a character in a video game. Are you the speedy solo creator who needs something fast and foolproof? Or are you the meticulous developer building an automated image-processing fortress? The answer dictates your path forward.
Your Cheat Sheet for Making the Final Call
Feeling a little overwhelmed by the sheer number of options? Let's distill this digital odyssey down to a simple, actionable decision-making framework. Think of it as your final boss battle checklist before you commit to a tool.
Here’s how to narrow it down based on who you are and what you need:
-
For the Casual Creator & Social Media Maverick: If your goal is to quickly polish a handful of images for an Instagram post, a blog header, or a presentation, your priorities are speed and simplicity. Look no further than tools like Canva, Kapwing, or Upscale.media. These platforms offer intuitive interfaces where you can get in, get a crisper image, and get out in minutes without a steep learning curve. The free tiers are usually more than enough for occasional use.
-
For the Detail-Obsessed Designer & Photographer: When every pixel counts and artifacting is your sworn enemy, you need more control and higher fidelity. This is where tools like Adobe Photoshop's Super Resolution, Topaz Labs Gigapixel AI, and Let's Enhance truly shine. They offer more advanced models and settings to fine-tune the output, preserving textures and details that simpler tools might smooth over. While some have limited free access, they are the go-to for professional-grade results.
-
For the Ecommerce Seller & Product Manager: You're not just upscaling one image; you're upscaling hundreds, or even thousands. Your life revolves around efficiency and consistency. Bigjpg and Icons8 offer decent batch processing on their free or paid tiers, saving you from a soul-crushing cycle of one-by-one uploads. Consistency in your product catalog is key, so find a tool that produces a reliable style and stick with it.
-
For the Developer & Automation Guru: If "API" is your favorite three-letter word, your needs are entirely different. You’re not just using a tool; you're integrating a service. PixelPanda is engineered from the ground up for this exact purpose, offering a robust API, clear documentation, and a developer-first mindset. While other services like Pixelbin (Upscale.media) and Let's Enhance also provide APIs, the focus on streamlined integration and scalable workflows makes a dedicated solution a much smarter long-term investment.
When making your final selection from the many options available, understanding the inherent AI speed-accuracy trade-off is crucial, as faster upscaling might sometimes come with compromises in visual fidelity. Don’t just be wooed by the promise of a 10-second result; run your own tests with your typical images to see if the quality holds up to your standards. What works wonders on a landscape photo might mangle the text on a screenshot. Always test, never assume.
Ultimately, the perfect free image upscaler online is the one that seamlessly slots into your workflow, respects your time, and delivers the quality your project deserves. So go ahead, bookmark your favorites, run some tests, and give your low-res images the glow-up they've been waiting for.
Ready to move beyond manual uploads and build powerful, automated image workflows? PixelPanda offers a developer-friendly API that makes integrating high-quality upscaling, background removal, and other AI edits into your app or platform incredibly simple. Try out the PixelPanda API to see how easily you can scale your visual content creation.


