Getting text out of an image really comes down to a few core approaches. You can go the manual route with tools like Photoshop's Clone Stamp for pixel-perfect control, use automated AI features like Content-Aware Fill for a quick fix, or even lean on an API for bulk processing. The right choice always hinges on how complex your image is and what you need in terms of quality and speed.
Why Removing Text from Images Is a Common Need
Ever find the perfect stock photo, only to have it marred by a cheesy "Your Text Here" placeholder? Or maybe you've got a great user-generated shot for a social media campaign, but it's plastered with emojis and captions. These are the exact moments when knowing how to cleanly remove text becomes a vital skill.
The real goal isn't just to delete the words. It's to rebuild the area behind them so seamlessly that no one would ever suspect text was there in the first place. This can be deceptively simple or incredibly tricky, all depending on the background. Lifting a logo off a clear blue sky is a walk in the park compared to removing a sentence from a patterned shirt or a textured brick wall.
Common Scenarios for Text Removal
This skill pops up in more places than you might think, from professional workflows to personal projects. You'll often find yourself needing to clean up images for:
- Marketing and Branding: Taking great stock photos and making them your own by removing generic text or watermarks (with proper licensing, of course).
- E-commerce: Creating clean, consistent product shots from supplier photos that often come with distracting logos or promotional text.
- Photo Restoration: Giving old family photos a new life by digitally removing handwritten notes or dates that cover up important parts of the picture.
- Content Creation: Repurposing a meme or a social media screenshot for a blog post without the distracting original text.
For the really tough jobs, a professional tool like Adobe Photoshop is usually the weapon of choice. Its interface is built for this kind of detailed work.
The layer-based workflow and deep toolset are what give you that fine-grained control, which is non-negotiable when you're trying to get a professional result on a complex image.
Choosing the Right Method
So, which tool should you grab? It really depends on the job at hand. Throughout this guide, we’ll break down the best techniques for different situations, from precise manual editing to lightning-fast AI solutions.
The best technique is always the one that matches the image's background complexity. A simple background might just need a quick AI touch-up, but a detailed, textured surface will almost always demand careful manual cloning to look right.
To help you get your bearings, let's start with a quick overview of the main methods we'll be covering.
Comparing Text Removal Methods at a Glance
This table breaks down the most common approaches, giving you a sense of what each one is good for, how hard it is to master, and how quickly you can get the job done.
| Method | Best For | Difficulty Level | Speed |
|---|---|---|---|
| Manual Cloning & Healing | Complex backgrounds, high-quality results, artistic control | High | Slow |
| Content-Aware/Magic Fill | Simple or moderately complex backgrounds, speed | Low | Fast |
| AI Inpainting Tools | Quick edits, social media content, non-critical images | Very Low | Very Fast |
| API/Batch Processing | High-volume tasks, e-commerce, automated workflows | Medium (to set up) | Instant (per image) |
Think of this as your starting point. Now that you have a high-level view, we can dive into the nitty-gritty of each technique and show you exactly how to put them into practice.
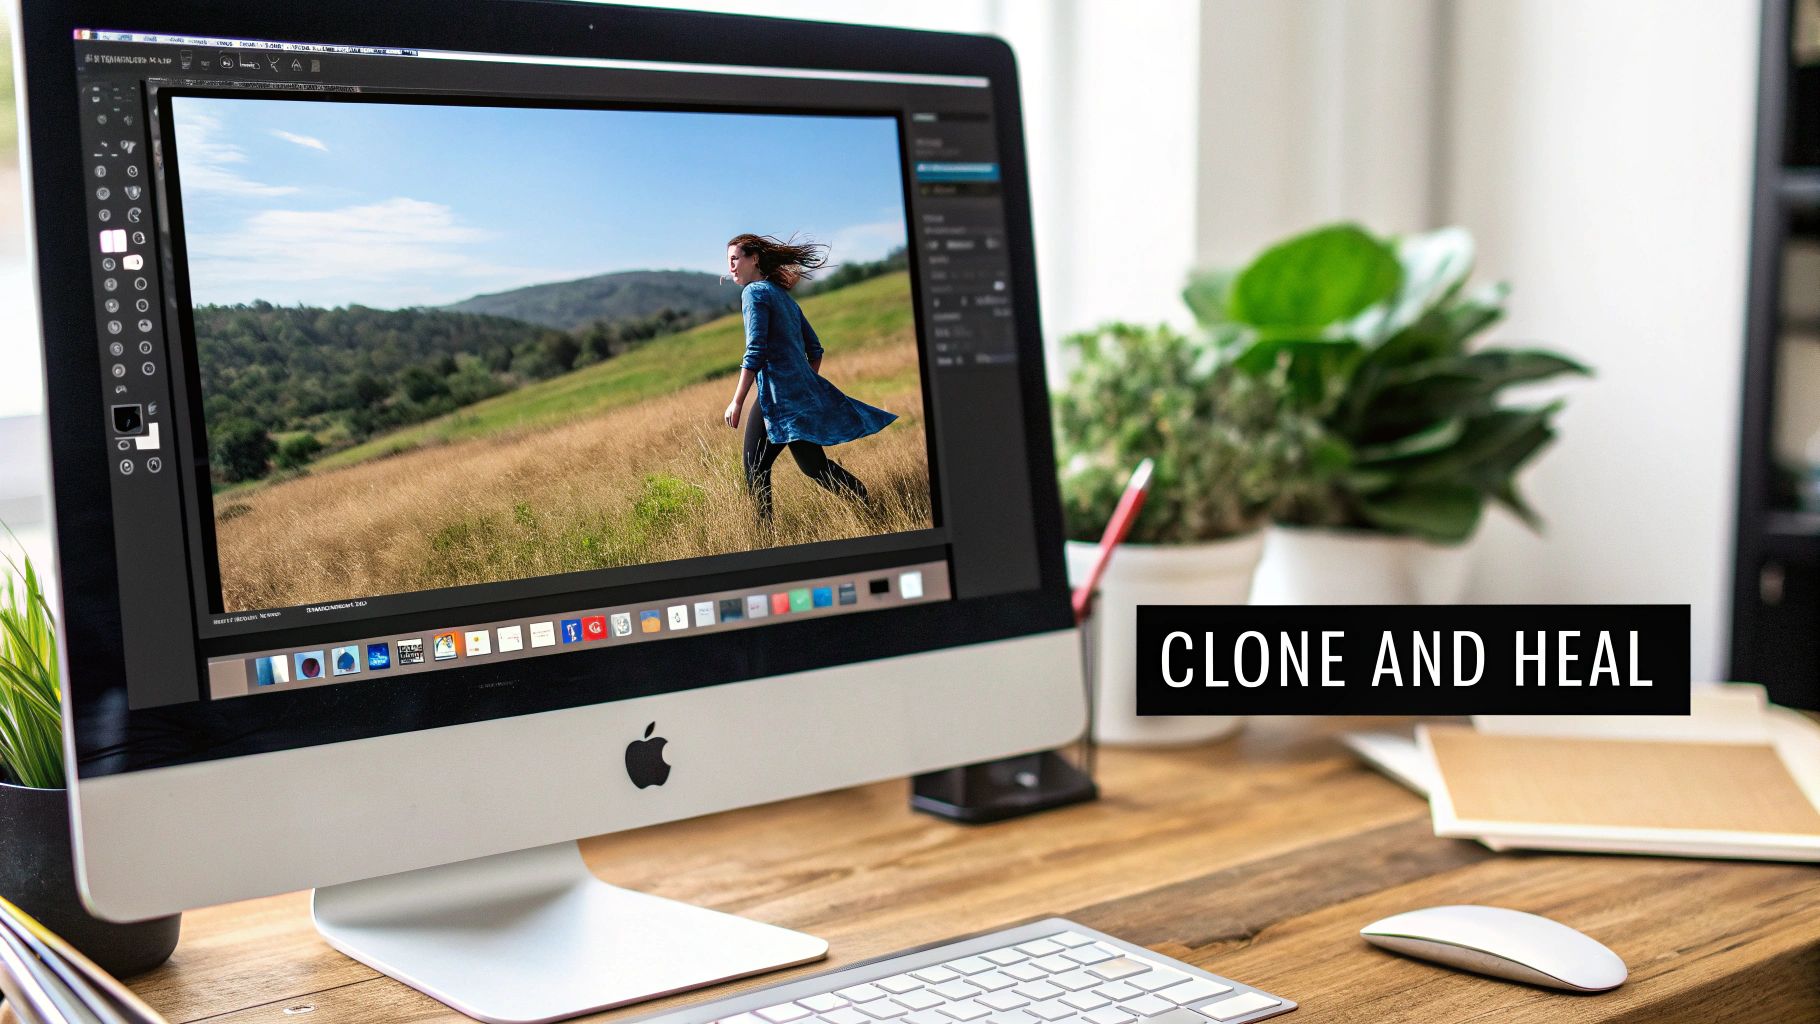
Mastering Manual Edits with Professional Software
When you need absolute, pixel-perfect control, nothing beats rolling up your sleeves and doing the work manually in professional-grade software. While AI tools are fantastic for speed, they can sometimes get tripped up by tricky textures or subtle lighting. Knowing how to do it by hand gives you the power to tackle any image and make the text vanish without a trace.
This kind of detailed control isn't new; it's the modern version of a craft that's over a century old. Before computers, retouchers would painstakingly use airbrushes, hand-coloring, and even physically splice negatives together. The game completely changed when Adobe Photoshop arrived in 1990, digitizing these techniques and introducing incredible tools like layers. This meant artists could finally work non-destructively, removing unwanted elements with more ease than ever thought possible. You can explore the full history of how photo editing evolved from the darkroom to the digital powerhouse it is today.
Your Essential Toolkit: The Clone Stamp and Healing Brush
At the core of any manual text removal job are two powerhouse tools you’ll find in both Adobe Photoshop and its excellent free alternative, GIMP: the Clone Stamp Tool and the Healing Brush Tool. They might sound similar, but they're used for very different things.
The Clone Stamp Tool is your precision instrument. It does exactly what its name implies: it copies pixels from a source area you choose and pastes them directly over another area. This makes it perfect for rebuilding parts of an image with sharp, defined patterns, like wood grain, brickwork, or the weave in a piece of fabric.
The Healing Brush Tool, on the other hand, is a bit smarter. It also samples pixels from a source, but it doesn't just copy-paste. Instead, it intelligently blends the source texture with the color and lighting of the area you're painting over. This creates a much more seamless, natural-looking result, which is why it's the go-to for organic surfaces like skin, skies, or any area with subtle gradients.
Pro Tip: My workflow almost always starts with the Healing Brush because of its superior blending. I only switch over to the Clone Stamp when I need to reconstruct a hard edge or a specific texture that the Healing Brush might make too soft.
A Real-World Example: Removing a Logo from Fabric
Let's tackle a common problem: getting a printed logo off a t-shirt. The fabric has a clear texture, so just painting over the logo will look flat and obviously fake. This is where manual tools really prove their worth.
First thing’s first: always work non-destructively. This is a crucial habit for any serious editor. Instead of editing your image directly, create a new, blank layer on top of it. You'll do all your cloning and healing on this separate layer, which means your original photo stays perfectly intact underneath.
With your new layer active, grab the Clone Stamp Tool. Hold down Alt (or Option on a Mac) and click a clean patch of fabric right next to the logo to set your source point. Now, start painting over the logo. The key here is to constantly resample from different spots around the text. If you don't, you'll create a repetitive, artificial-looking pattern that screams "edited."
Speeding Things Up with the Patch Tool
For larger blocks of text, the Patch Tool can be a huge time-saver. It works like a hybrid of a selection tool and the Healing Brush. You start by drawing a selection around the entire piece of text you want to get rid of.
Then, you just click inside that selection and drag it over to a clean, text-free part of the image. When you let go, Photoshop automatically takes the texture and lighting from the clean area and blends it perfectly into the spot where the text used to be. It’s an incredibly efficient way to handle bigger removal jobs.
Habits for Flawless Manual Edits
Getting a consistently professional result comes down to a few core habits. Make these a non-negotiable part of your workflow.
- Work on a New Layer: Seriously, I can't stress this enough. It lets you experiment, easily erase mistakes, and fine-tune your edits without ever damaging your original image.
- Use a Soft-Edged Brush: A hard-edged brush creates obvious, ugly seams. A soft, feathered brush is essential for helping your edits blend invisibly into the rest of the image.
- Vary Your Sample Source: This is what separates the pros from the amateurs. Keep resampling your source (Alt/Option-click) from different nearby areas to avoid that tell-tale "rubber stamp" look.
- Zoom In, Zoom Out: Don't just work zoomed in at 200%. Constantly zoom back out to 100% to see how your edit looks at a normal viewing distance. What looks perfect up close can sometimes look like a blotchy mess from afar.
By mastering these manual tools and adopting a clean, non-destructive workflow, you gain total creative control. You’ll be ready to take on any text removal challenge, no matter how complex the background, and produce edits that are truly invisible to the naked eye.
Using AI for Quick and Intelligent Text Removal
When manual edits feel like overkill and you just need to get the job done fast, it's time to bring in the AI. Modern photo editors have evolved far beyond simple pixel cloning. They now use sophisticated algorithms to analyze the area around your text and convincingly rebuild whatever is behind it. This approach can easily turn a tedious 10-minute task into a 10-second fix.
This kind of speed is a direct result of decades of progress. The digital floodgates really opened in the early 1990s with better digital cameras and file standards. A huge milestone was Logitech's Fotoman camera back in 1992, which created JPEG files. That format quickly became the standard and paved the way for the powerful, accessible editing software we rely on today. For a deeper dive, the history of digital photo manipulation is a fascinating look at how we got here.
The Magic Behind Content-Aware Fill
The most famous AI feature for this kind of work is undoubtedly Content-Aware Fill, the powerhouse inside Adobe Photoshop. It’s not just slapping a color over the text; it intelligently samples the textures, patterns, and light from the surrounding pixels to create a seamless patch.
Think of it as a master art restorer who can look at a damaged painting and perfectly mimic the original artist's style. Content-Aware Fill does something very similar with pixels. This makes it incredibly effective for backgrounds that are complex but have organic or repeating elements—a grassy field, a cloudy sky, a textured wall. It literally figures out what should be there and generates it from scratch.
Getting the Most Out of AI Fill in Photoshop
Getting started is easy, but a few pro tips can make a world of difference in your final result. The quality of your AI fill is directly linked to the quality of your selection.
- Make a tight selection. Use the Lasso or Object Selection Tool to draw a clean border right around the text. The key is to include a tiny sliver of the background inside your selection. This gives the algorithm more context to work with.
- Head to the Content-Aware Fill workspace. With your selection active, just go to
Edit > Content-Aware Fill. This opens up a dedicated panel where you can fine-tune the magic. - Refine the source area. Photoshop shows you a green overlay indicating which pixels it’s using as a source. If it’s sampling from an unwanted spot (like a person's face next to the text), just paint over that part of the green overlay to tell it, "Don't look here!"
- Apply and review. Once the preview looks good, hit OK. The tool cleverly generates the fill on a new layer, which keeps your original image untouched.
This technique is a lifesaver for most backgrounds. But be warned, on images with very distinct, non-repeating objects, the AI can sometimes get confused and pull in bizarre artifacts.
I once tried to remove text from a photo of a bookshelf, and Content-Aware Fill kept trying to generate these blurry, half-formed book spines in the empty space. In that case, I had to fall back on the manual Clone Stamp for precision.
Standalone AI Tools for Instant Results
You don't always need a beast like Photoshop. A whole new crop of web-based tools has popped up, designed to do one thing exceptionally well: remove unwanted objects and text in just a couple of clicks.
These are perfect for social media managers, marketers, or anyone who needs to clean up an image on the fly without getting bogged down in menus and settings. The workflow is usually dead simple: upload your photo, highlight the text, and let the AI do its thing.
A Few of My Go-To Web-Based Options:
- Cleanup.pictures: A wonderfully focused tool. It’s known for its simplicity and delivers surprisingly good results on all sorts of backgrounds.
- Fotor's Object Remover: This is part of a larger editing suite, but its object removal feature is fast, effective, and gets the job done.
- PixelPanda: This one is built for scale. It offers a powerful, API-driven inpainting service that's ideal for developers and businesses that need to automate text removal across thousands of images. You can see it in action in some of the PixelPanda interactive demos.
AI vs. Manual: Making the Right Call
So, when should you lean on AI, and when is it better to roll up your sleeves and do it manually? The image itself will usually tell you what it needs.
Let the background be your guide.
| Background Type | AI Performance | My Go-To Tool |
|---|---|---|
| Simple Solid Colors | Flawless | Any AI Tool |
| Organic Textures (Grass, Sky, Water) | Excellent | Content-Aware Fill |
| Repeating Patterns (Brick, Fabric) | Good to Great | Content-Aware Fill |
| Complex Scenes (Cityscapes, Crowds) | Hit or Miss | Manual Cloning (usually) |
| Gradients | Pretty Good | Content-Aware Fill |
AI-powered tools offer incredible speed and have become an indispensable part of my workflow. By understanding how they think and where they shine, you can pick the right tool for the job every time, saving yourself a ton of effort while still producing clean, professional images.
Automating Text Removal for Large-Scale Projects
Manual edits and one-click web tools are great for a handful of images, but they simply don't scale. What happens when you're an e-commerce marketplace trying to moderate thousands of user-submitted photos a day? Or a marketing team localizing hundreds of ad creatives for different regions? Editing each image by hand becomes a massive bottleneck.
This is where you bring in the heavy machinery: programmatic text removal. It transforms that manual grind into a fast, automated, and scalable workflow.
The whole process hinges on a powerful two-step punch handled by an API. First, the system uses Optical Character Recognition (OCR) to find and map the exact coordinates of any text in the image. Once the text is locked on, a sophisticated inpainting algorithm swoops in to intelligently rebuild the background pixels, seamlessly covering the spot where the text used to be.
This is the basic flow most AI-powered tools follow.

As you can see, the AI handles the selection, generates the replacement background, and then refines the result to make it look natural.
The Role of OCR in Automated Workflows
The secret sauce that makes this automation so effective is OCR, a technology that translates text within an image into machine-readable data. It feels incredibly modern, but its origins go back over a century. Believe it or not, back in 1914, Emanuel Goldberg built a machine that could read characters and turn them into telegraph code. Fast forward to 1978, and the first commercial OCR software was digitizing huge legal and news archives.
Today's OCR systems can hit accuracy rates well above 98%, providing a rock-solid foundation for this kind of automated editing. You can read more about the fascinating evolution of OCR technology to see how far it's come. By pinpointing the text first, the API avoids any guesswork and knows exactly where to apply the inpainting, giving you much cleaner results without accidentally messing up other parts of the image.
A Real-World Scenario: E-commerce Product Moderation
Let's make this practical. Imagine you run a peer-to-peer marketplace where users upload their own product photos. You’ve probably seen it before—sellers plastering phone numbers, social media handles, or "SALE!" text all over their images, which violates your platform's rules. Manually screening and editing every single photo would require a full-time team and create frustrating delays for sellers.
An API-driven solution handles this in seconds.
- A user uploads their product photo.
- Your system automatically sends that image to an image processing API.
- The API’s OCR engine immediately flags the forbidden text.
- Its inpainting model erases the text and reconstructs the background.
- The clean, compliant image is returned and goes live on the listing.
The whole round trip takes just a few moments. This not only keeps your marketplace looking clean and professional but also drastically cuts down the time it takes for a seller's item to go live.
Automating this process isn't just about efficiency; it's about creating a scalable system that can handle growth without a proportional increase in operational costs. It turns a potential moderation nightmare into a smooth, hands-off workflow.
Putting It Into Practice with an API Call
Plugging this kind of power into your own application is surprisingly straightforward. Services like PixelPanda offer a simple REST API that you can work with using just a few lines of code. For any developer wanting to dive in, the first stop should always be the API documentation to get familiar with the available endpoints and parameters.
To give you an idea, here’s what a basic API call to remove text might look like using Python:
import requests
api_key = 'YOUR_API_KEY'
image_url = 'https://example.com/image_with_text.jpg'
response = requests.post(
'https://api.pixelpanda.ai/v1/inpainting/remove-text',
headers={'Authorization': f'Bearer {api_key}'},
json={'image_url': image_url}
)
if response.status_code == 200:
# Save the cleaned image
with open('cleaned_image.png', 'wb') as f:
f.write(response.content)
print("Text removed successfully!")
else:
print(f"Error: {response.text}")
This little snippet shows how you can send an image URL to the service and get a cleaned-up version right back. By building a system around an API like this, businesses can process a massive volume of images, ensuring everything stays on-brand and high-quality at a scale that manual editing could never touch.
Handling Difficult Backgrounds and Preserving Quality
Making text disappear is one thing, but making the edit truly undetectable is another art form entirely. Once you move past simple, flat-colored backgrounds, you’ll find the real challenge is in preserving the fine details and textures of the original image. The goal is to avoid those tell-tale blurry spots or unnatural, repeating patterns that scream "this has been edited."
Successfully removing text from a complex surface requires a more thoughtful approach than just a quick AI fill. Let's dig into how you can turn a good edit into a great one by tackling the toughest backgrounds head-on.
Working with Fine Textures Like Wood and Fabric
Surfaces with a lot of detail—think wood grain, textiles, or brushed metal—are incredibly unforgiving. A lazy clone job or a confused AI will leave behind a smudged mess that’s instantly noticeable. The key here is to work with the existing pattern, not against it.
When you're using a tool like the Clone Stamp, your main job is to maintain the direction and flow of the texture. For something like wood grain, that means sampling pixels from an area where the grain is running in the same direction as the spot you're covering. It sounds obvious, but it’s a detail many people miss in the moment.
To keep the texture looking organic and not like a cheap copy-paste job, you have to constantly resample your source point. This is crucial for preventing that "rubber stamp" effect where the same little detail appears over and over. A good rule of thumb I follow is to resample every few brush strokes.
Strategies for Complex Surfaces
Let's break down the approach for some of the trickiest backgrounds you'll run into. Each one demands a slightly different technique.
- Gradients: Trying to remove text from a sunset or a smoothly lit wall is tough because any tiny imperfection in the color transition will stand out. For this, I reach for a large, very soft-edged Healing Brush. It allows the tool to sample a wide area of color information and create a seamless blend across the gradient.
- Hair and Fur: This is arguably the most difficult texture to work with. The Clone Stamp is often too harsh and clumsy. Your best bet is to work on a new, separate layer, use a tiny, soft Healing Brush, and painstakingly rebuild the area by sampling adjacent strands of hair. It’s slow, tedious work, but it’s the only way to get a result that looks real.
- Transparent or Reflective Surfaces: Think glass, chrome, or calm water. Here, you're not just rebuilding the surface itself but also whatever is being seen through or reflected in it. This usually requires a combination of cloning background elements and then carefully painting in subtle highlights and shadows to recreate the reflection.
My personal rule for difficult textures is to build the edit up in layers. I'll start with a base layer using a soft Healing Brush to match the color and light. Then, I add another layer on top where I use the Clone Stamp at a low opacity (around 20-30%) to gently paint the texture back in. This gives me maximum control over the final result.
The Importance of Feathering Selections
Whether you're using an AI tool like Content-Aware Fill or setting up a manual edit, the "hardness" of your selection edge is critical. A sharp, unfeathered selection creates a harsh line between your edited patch and the original image—it's a dead giveaway.
Feathering creates a soft, transitional edge on your selection, allowing the edit to blend smoothly and naturally into the surrounding pixels. In Photoshop, you can add feathering when you first make a selection (Select > Modify > Feather) or adjust it on the fly. A tiny feather of just 1-3 pixels is often enough to make a massive difference.
This simple step ensures there are no hard lines, making your work much harder to spot. It’s an essential technique for achieving that invisible finish.
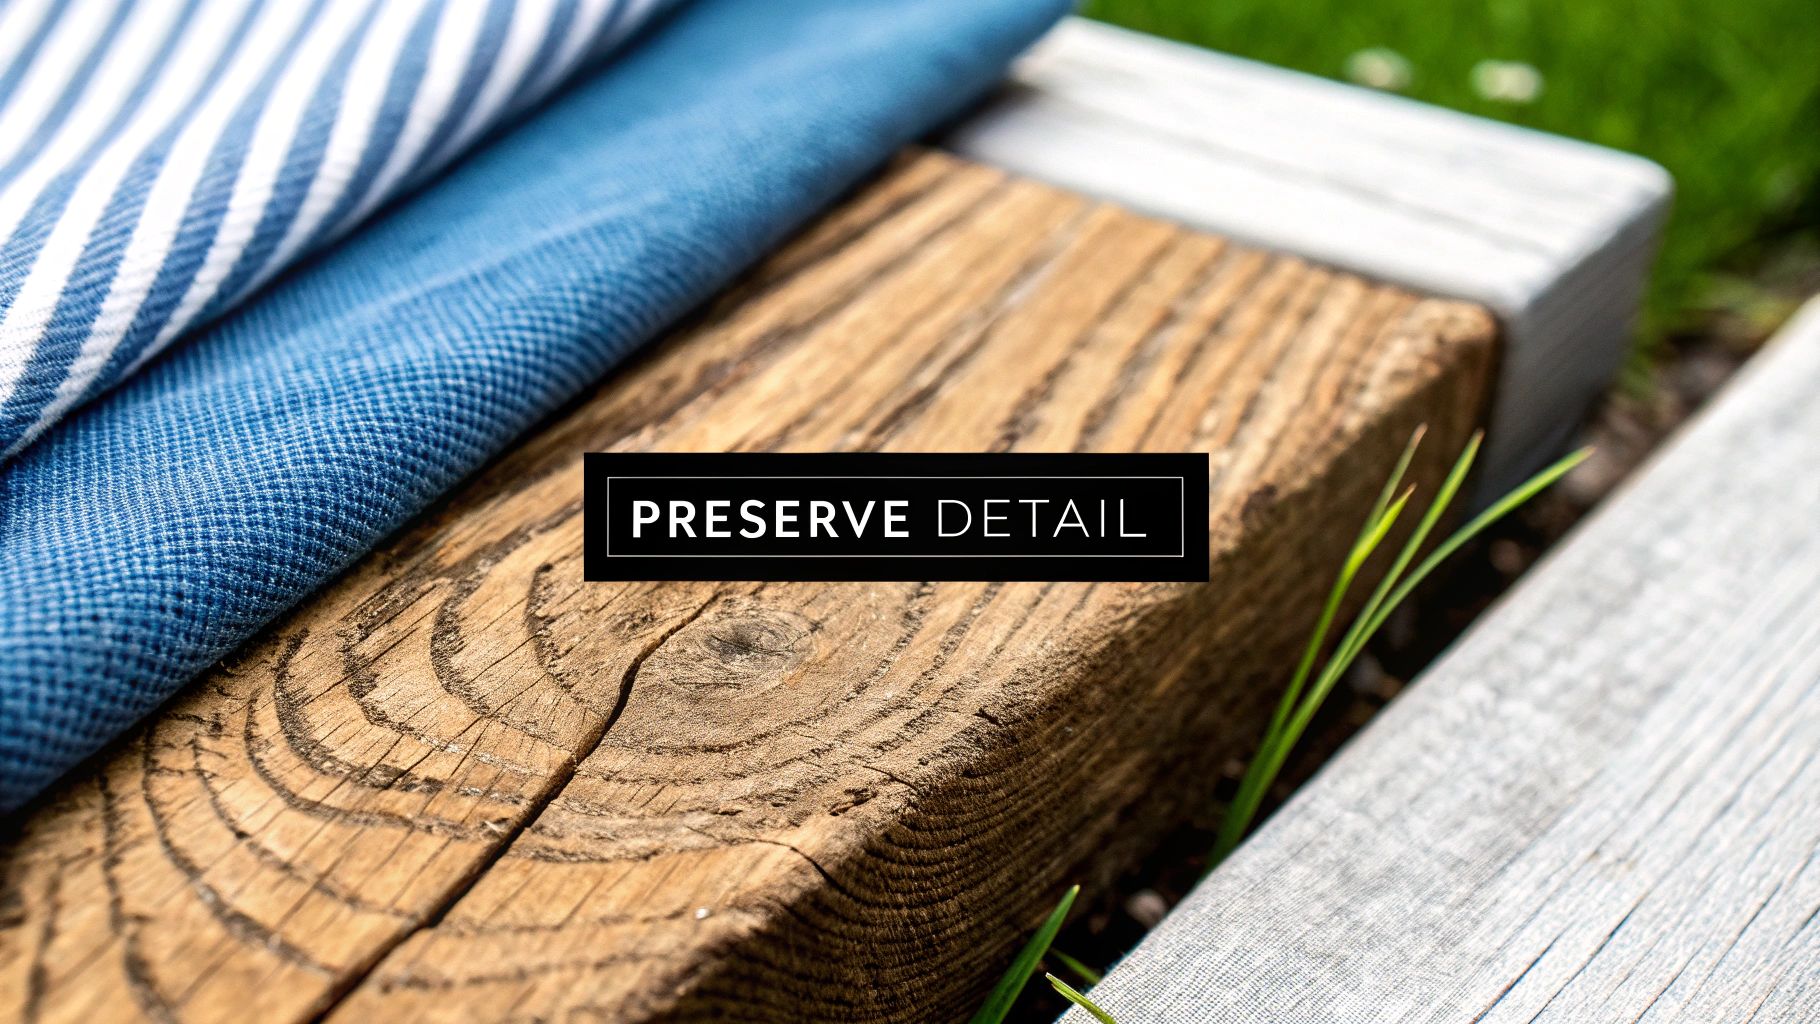
Preserving Detail at High Resolution
Finally, always start with the highest quality image possible. The more pixel data you have, the more information your editing tools have to work with, which almost always leads to cleaner, more believable results.
If your source image is low-resolution, any edits you make will only amplify the existing pixelation and blurriness. If you're stuck with a lower-quality file, it’s worth running it through an upscaler first. Modern tools that use AI can intelligently increase the resolution and sharpen details, giving you a much better canvas to start with.
You can even try an image upscaling demo to see how AI can enhance a photo before you begin the text removal process. This one extra step can dramatically improve the final quality of your edit.
Ethical and Legal Considerations for Image Editing
https://www.youtube.com/embed/uDDrCNP3G-k
The ability to seamlessly remove text from an image is a powerful skill, but it also carries some serious responsibilities. Before you even think about editing, you absolutely have to consider the legal and ethical lines you might be crossing, especially when it comes to copyright law.
From the moment an image is created, it's the intellectual property of its creator. It’s that simple.
Think you can just erase a watermark or a photographer's credit from a stock photo you bought? Think again. That's a classic mistake. Your license almost always gives you the right to use the image as-is, not to fundamentally alter it by stripping away attribution. Removing that text isn't just a minor tweak; it directly undermines the creator's ownership and could land you in legal trouble.
Navigating Fair Use and Deceptive Edits
You might have heard of fair use, which can sometimes permit using copyrighted work without permission for things like parody, commentary, or news reporting. But tread very carefully here. Fair use is a notoriously gray legal area and it almost never applies to commercial situations where you’re just trying to make an image fit your brand better.
Beyond the black-and-white of the law, there's the simple matter of ethics. There’s a world of difference between, say, restoring a damaged old family photo and deceptively altering a news image to mislead people. Using these editing skills responsibly means respecting the work of others and preserving the integrity of the original image.
Before you make a single edit, stop and ask yourself this one critical question: "Am I misrepresenting the original work or infringing on the creator's rights?" Your honest answer will guide you toward making the right choice.
Common Questions About Removing Text
We've covered a lot of ground, but a few questions always pop up. Let's tackle some of the most common hurdles people face when trying to get text out of an image.
What's the Best Free Tool for the Job?
If you're looking for professional-level control without spending a dime, GIMP is the clear winner. Think of it as a free, open-source version of Photoshop. It gives you the powerful Clone Stamp and Healing Brush tools you need for precise, manual work.
But what if you just need something fast and simple? For those quick jobs on images with fairly simple backgrounds, an automated web tool is your best bet. Services like Cleanup.pictures or Fotor's Object Remover can get you a surprisingly good result in just a few clicks.
How Do I Remove Text Without Blurring the Background?
Ah, the dreaded smudge effect. Avoiding it all comes down to picking the right tool for the specific background texture you're dealing with.
- For backgrounds with sharp, repeating patterns or distinct details (like brick walls or fabric), the Clone Stamp Tool is your best friend. It gives you pinpoint control, letting you copy an exact texture from a clean area and paint it over the text.
- For softer, more organic surfaces like skies, skin, or smooth gradients, the Healing Brush is a better choice. It intelligently blends the texture, color, and lighting from the source area, creating a much more seamless and natural-looking patch.
Pro Tip: The single best habit you can build is to work non-destructively. Always, always do your edits on a new layer above the original image. This way, you never permanently damage the source photo and can easily erase or adjust your changes without starting over.
Is It Possible to Remove Text from a Low-Resolution Image?
Technically, yes, but it's a real challenge. A low-resolution image just doesn't have enough pixel information for the software to analyze and rebuild the background convincingly. When there's not much data to work with, you often end up with blurry, artificial-looking spots where the text used to be.
AI-powered features like Content-Aware Fill can sometimes pull off a minor miracle on lower-quality files, but don't expect perfection. The quality of your starting image will always be the biggest factor in how good the final result looks. For the cleanest edit, you absolutely need to start with the highest-resolution photo you can find.
Tired of spending hours on manual edits? PixelPanda offers a powerful API that automates text removal, watermark cleanup, and background editing at scale. Get professional-grade results in seconds, not hours. Explore our demos or start your free trial today.